Rabu, 20 Januari 2016

Create Smoke & Fire in Blender


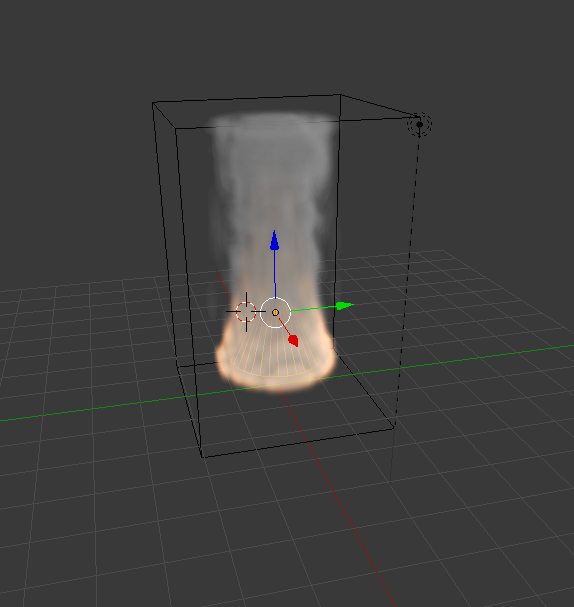
Finished Fire

In this tutorial I will show you how to make fire and smoke using Blender.

Step 1:

     First delete the default cube you start off with (though you can use this if you want). Next go to create on the panel on the left-hand side and place a Cone. Next lift the Cone slightly up above the grid.

Cone

Step 2:

      Next press the space bar and type in ‘’quick smoke’’ and press enter with Cone selected. You should end up with a smoke animation around the Cone when you press play at the bottom of the screen.

Quick Smoke Option

Quick Smoke Added

Step 3:

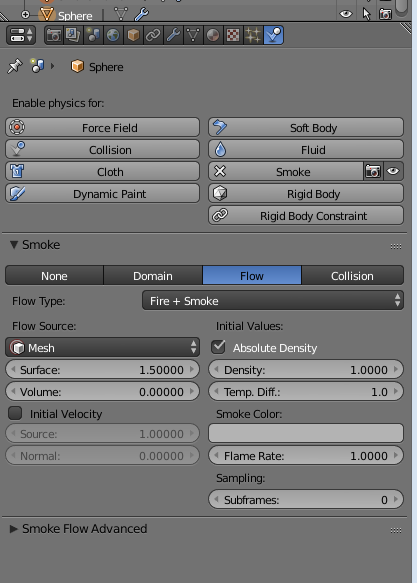
Click the physics button in the side tab and go to the option called ‘flow type’. Scroll through the list here to find the option ‘fire and smoke’ and select it (make sure you have the cone selected). Once done you should end up with fire as well as smoke around the Cone. You can alter the settings such as resolution to increase the detail of the fire to your preferences. This how you make fire and smoke in Blender.


Fire Added to Cone
Additional Settings for Fire + Smoke


Baca selengkapnya

Simple Water Effects Tutorial for Blender


Water Effect Tutorial for Blender
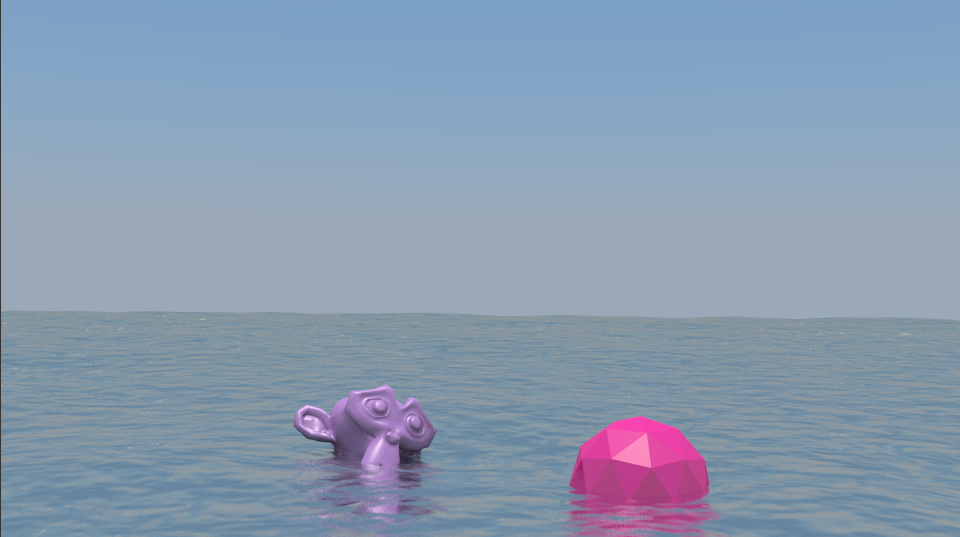
The Finished Effect

Step 1: 

Delete the default Cube and the Lamp by selecting and hitting delete followed by clicking the on screen prompt. You will not need these in your scene.

Step 1:

Step 2: 

Add a Plane and a Sunlight (placement doesn't matter for sunlight) through the Add tab, followed by scaling the plane up by pressing the S key while it is selected. The sun will create the reflection and all lighting.

Step 2:

Step 3: 

Select the Sunlight, and then go into the Sun Data tab which is a little sun icon where Materials would be, check the Sky box and Atmosphere box, then change the Factor of the sky to 0.5. This gives the background a realistic sky when you render the scene.

Step 3:

Step 4: 

Select the plane and enter the Materials tab and add a new material, change the Specular type of the plane to Blinn and change the specular Intensity of the highlight to 0.2. Then check the Mirror box of the plane and in the mirror dropdown, set the Reflectivity to 1.0 then set the gloss amount to 0.75.

Step 4:

Step 5:

Enter the Texture tab and add a new texture, and under Mapping change the X, Y & Z size to 7.0, then uncheck the Color box under the Influence tab, then under the Geometry heading change the normal to 0.1.

Step 5:

Step 6:

Go to the world tab and check the Ambient occlusion box and set it to 0.3.

Step 6:

Step 7:

Enter Edit mode and select the plane, then Subdivide it 7 times. This is to give it more Geometry for the Displace modifier to take effect. We will add this in the next step.

Step 7:


Step 8: 

Now enter the Modifier tab and add a Displace modifier and click the little texture box and select texture from the dropdown, now enter Object Mode and from the dropdown click texture, then change the Strength to 0.02.

Step 8:

Step 9: 

Under the Object tools menu on the left, change the Shading to Smooth.

Step 9:

Conclusion

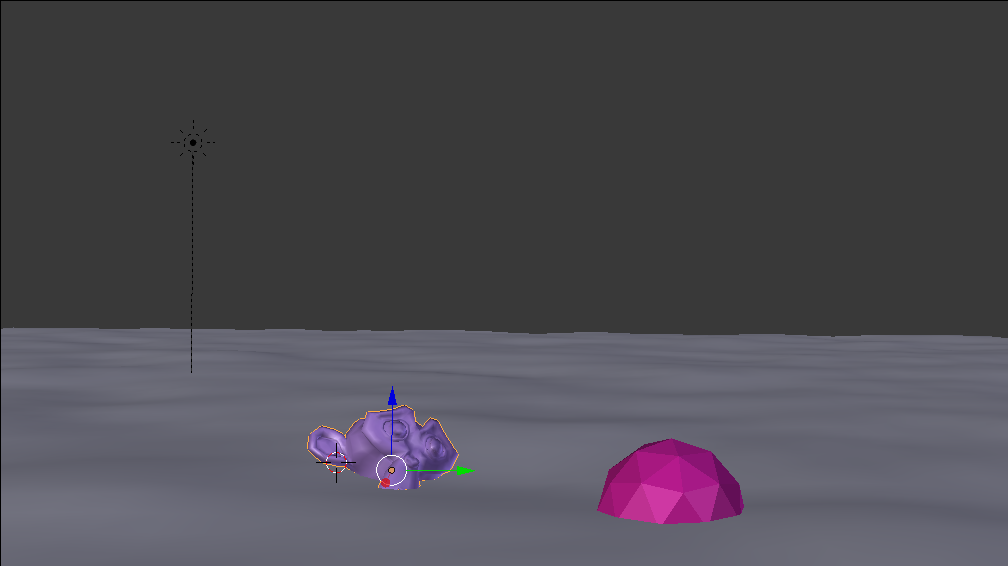
If you followed my instructions correctly you should end up with something like this, my camera has been fixed into a suitable position for the effect to show it off, I also added a Monkey and an Icosphere from the Add tab to give the effect of floating objects. You don't have to do this. 

Pre Render

Final Render


Now hit F12 for the final render. Congratulations now you know how to make water effects for your renders.

Final Render


Baca selengkapnya

Applying Multiple Materials to Single Objects in Blender

In this tutorial, we will be learning how to apply multiple materials and textures to single objects. In this example, we will be creating a building, using two materials, for the building walls, and the building’s rooftop.


Apply Multiple Materials to Single Objects in Blender
Multiple Materials applied in a Final Render

Step 1: Creating the shapes

Open a new Blender project.


New Project
Rather than the deleting the default cube that appears in new projects, we will be using it. Use scale on Z axis (‘S’, then ‘Z’) to make the cube slightly taller, then grab and move on z axis upwards, so as to sit on the grid.


Scaled cube
Add a plane (shift + A, in the ‘Mesh’ option) and scale wider than the cube, using the ‘S’ key.


Added plane

Step 2: Edit Mode

Enter edit mode (tab) and ensure the ‘Face Select’ option is selected. This button is located along the bar at the bottom of the screen.


Circled selection, click 'Face Selection'
Select each side of the building apart from the top (hold shift and right-click each side). The selected sides will appear orange.


When 'Face Selection' is on, faces should appear as above

Step 3: Adding Materials and Textures

Go to the Materials tab on the right-hand side of the screen and add a new material, then proceed to the textures tab, and add a new texture – ensure that the type is ‘Image or Movie’.


Materials Tab
Textures Tab
Once you have added the texture, click ‘Open’ underneath the ‘Image’ dropdown, and open your texture. You can choose whichever texture you require. Since we’re making a building in this tutorial, I’ll be using a residential building texture. In order to gain a more realistic textured object, you should use seamless textures.


Added Texture
Image dropdown

Step 4: Mapping and Assigning the Walls

Once you have added your texture, you may want to map it in order for it to appear more realistic and neat. In order to do this, remain in the Textures tab, and scroll down until you find the ‘Mapping’ dropdown. Underneath this, change the ‘Coordinates’ to ‘Global’, and the ‘Projection’ to ‘Cube’. If you want to increase or decrease the size of the texture, you can change the ‘X’, ‘Y’, or ‘Z’ sizes.


Image Mapping for Building
Go back into the Materials tab, and select the ‘Assign’ button. This will assign your selected material and texture to the faces you have selected – as long as they are still selected.


Assign button

Step 5: Adding the Second Material

Once you have assigned the material to the walls of your building, select the roof of it by itself, and proceed to add another material. 


Roof Face Selection
Second Material added

With this material selected, go back to the Textures tab and add a texture to it. For this, I’ll be using a concrete texture. Repeat the process of opening the texture underneath the ‘Image’ dropdown.


Add texture to second material

Step 6: Mapping and Assigning the Walls

Once you have opened your texture in the Image dropdown, you may want to map the roof as well. In order to do this, simply scroll down to mapping, just as described beforehand, however, set the ‘Projection’ to ‘Flat’ this time. Keep the ‘Coordinates’ at ‘Global’.


Image Mapping for Roof
Ensure that this texture is assigned to the rooftop. To do this, go back to your Material’s tab and ensure that the roof’s material is selected. Then make sure that your rooftop is still selected on the object onscreen. If both of these are selected, click the ‘Assign’ button again.


Assign button

Step 7: Rendering your Scene

As on now, your building should have two materials assigned to it, each with a different texture. You can view this by changing the object display from ‘Solid’ to ‘Rendered’, or else to get a full rendered view, simply press F12 on your keyboard. This will give you a rendered view through the camera on your screen.


Rendered project
Rendered through camera view

You can use the same technique of applying a material and texture to your roof, as the plane. 


Final Render

Sample Renders:

You could experiment by adding more materials to each surface or the building, or try another shape with more than two materials.
Sample Render - Cylinder

Sample Render - Monkey


Baca selengkapnya

Senin, 18 Januari 2016

How to Use the Camera in Blender


How to Use the Camera in Blender
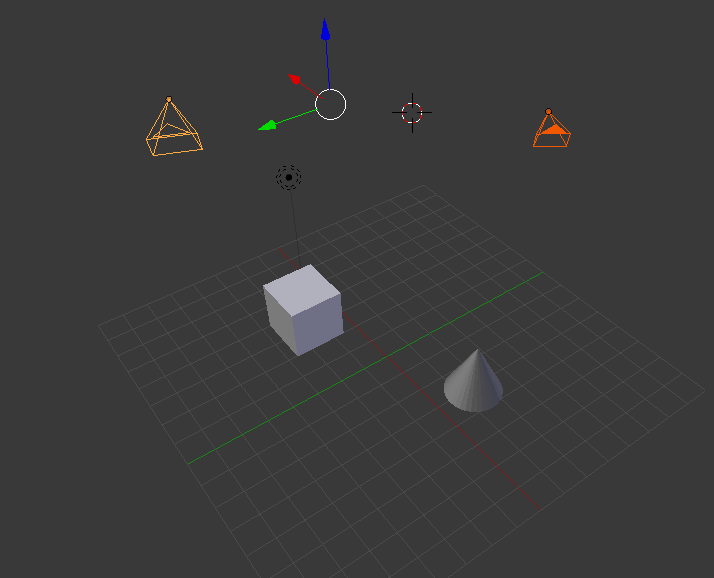
Camera in a Scene

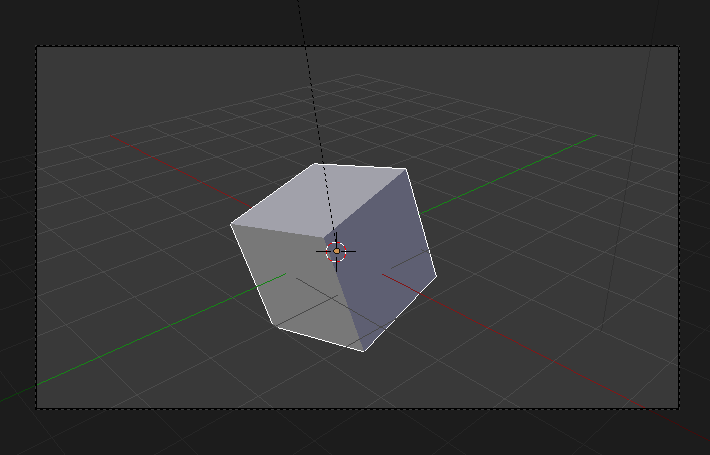
The camera is used to capture images of your work and give you different points of view of your render. The camera is invisible in scenes and is not rendered as it has no textures or materials. To use the camera '0' on the number pad.


There are three different types of lens for the camera. They are perspective, orthographic and panoramic. The purpose of different lenses is to give you various ways of looking at 3-D objects in your scene.

The lens can be changed here in the panel under camera:

Different Lenses

- The Perspective Lens is used to show you the render from a real life perspective. Objects that are far away appear smaller than objects that are up close.

Perspective Lens

- In the Orthographic Lens objects appear at their actual size no matter how close or far away they are.

Orthographic Lens


- The Panoramic Lens offers a 360° view of a horizon.

Panoramic View


- Zoom in and out using by scrolling the mouse wheel.

Camera Zoomed In

- If you press ‘R’ you can enter object rotation mode where you are able to rotate the object you are looking at.

Rotated Object


- You can press ‘Shift’ + ‘F’ to enter fly mode. This allows you to move the camera to face in any direction.

Fly Mode

- Pressing ‘G’ and moving the mouse allows you to sideways track objects.

Sideways Tracking


When pressing the camera a context sensitive panel will pop up on the right hand side of the screen. Here you will get a list of properties and settings for the camera that can be adjusted to your required specifications.
Camera Specs

You can add a new camera by pressing 'Shift' + 'A' and selecting camera from the list of options.

Multiple Cameras


If you press 'CTRL' + 'ALT' + '0' you can look through the camera from whatever angle you are looking at the scene from, no matter the position of the camera.


Baca selengkapnya

Kamis, 10 Desember 2015

Check Out Our Photoshop Tutorials


Photoshop Tutorials
Check out our Photoshop Tutorials

Adobe Photoshop is the industry standard in raster graphics editing, such that the word "Photoshop" has become a verb as in "to Photoshop an image," "photoshopping," and "Photoshop contest," etc. It can edit and compose raster images in multiple layers and supports masks, alpha compositing and several color models including RGB, CMYK, Lab color space, spot color and duo-tone. Photoshop has vast support for graphic file formats but also uses its own PSD and PSB file formats which support all the aforementioned features. In addition to raster graphics, it has limited abilities to edit or render text, vector graphics (especially through clipping path), 3D graphics and video.

Learn how to use Photoshop or just specific elements of it using our Photoshop tutorials.


Baca selengkapnya