
Finished Fire
 |
| Finished Fire |
In this tutorial I will show you how to make fire and smoke using Blender.
Step 1:
First delete the default cube you start off with (though you can use this if you want). Next go to create on the panel on the left-hand side and place a Cone. Next lift the Cone slightly up above the grid.
 |
| Cone |
Step 2:
Next press the space bar and type in ‘’quick smoke’’ and press enter with Cone selected. You should end up with a smoke animation around the Cone when you press play at the bottom of the screen.
 |
| Quick Smoke Option |
 |
| Quick Smoke Added |
Step 3:
Click the physics button in the side tab and go to the option called ‘flow type’. Scroll through the list here to find the option ‘fire and smoke’ and select it (make sure you have the cone selected). Once done you should end up with fire as well as smoke around the Cone. You can alter the settings such as resolution to increase the detail of the fire to your preferences. This how you make fire and smoke in Blender.
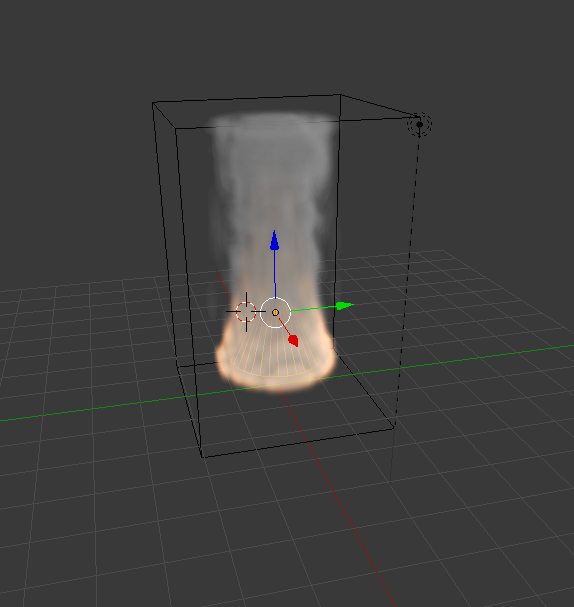 |
| Fire Added to Cone |
 |
| Additional Settings for Fire + Smoke |
Bagikan
Create Smoke & Fire in Blender
4/
5
Oleh
SEM


