|
| Completed wood texture |
The following 10 step process can be used to create textures for games, website backgrounds, graphic design work as well as to create textures and materials for 3D design applications such as Artlantis, AutoCad 3D or Revit. 3D games engines also make their textures in the same way so you can also use this tutorial to create textures for UE4, Unity, CryEngine or L4D.
1. Find a good image - flat, straight on, not patchy, etc. See good and bad examples below. |
| Bad Image for a texture - not flat/straight on |
 |
| Good Image for a texture - straight on with no patchy areas |
2. Open image in Photoshop, crop the image to keep only the area you want and resize to a size to the power of two, best options are 128, 256, 512 ,1024 - square or rectangular. For example 512 x 512 pixels or 256 x 512 pixels.
3. Go to filter->Other-> Offset. Input a horizontal and vertical value of half the image sizes you set in step 2. So if your image is 512 x 512 pixels set the horizontal and vertical offsets to 256 pixels. What this does is take the central areas of the image and move them to the edges thus meaning the texture will line up perfectly with itself when it is 'tiled'. However, on the other hand it also leaves an unsightly, messy looking area over and across the image; this is what we need to fix next.
4. Use the clone stamp tool (alt + click to define a source point then click to clone from that point, brush will show a preview in newer versions of Photoshop) to remove the lines or fix the messy area left by the offset. Tip: use as large a brush size as possible, around 1/5 the size of the image and a hardness level between 0 and 25 for unpatterned textures such as soil, sand, grass etc. and between 25 and 50 for patterned textures like bricks, tiles etc.
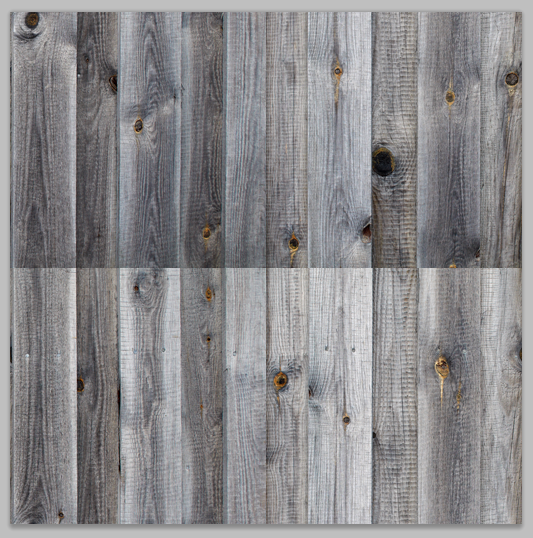 |
| Texture before cloning began - obvious lines |
 |
| Texture after cloning - lines gone but blurry areas |
5. Use the sharpen tool to fix any blurring that the clone stamp tool may have caused. |
| Texture after sharpening - blurred areas gone |
6. Add a hue and saturation adjustment layer and set saturation to"-100". This will show up any patchy areas or obviously variations in light and dark within the image. These will need to be softened or else the texture will have recurring patchy areas when tiled.
7. To fix any variations in light and dark first use the dodge tool, targeting shadows, to lighten any overly dark areas. Next use the burn tool, targeting highlights, to darken any overly light areas.
|
| Before use of dodge and burn tools - some patchy areas |
 |
| After dodge and burn - more consistent hue |
8. Now use any of the image > adjustment tools to add or change the colours or intensity of the texture, or in this images case add colour to the planks to match the knots in the wood. |
| Texture after colour has been added using the image > adjustment s tools |
9. Now test how the textures 'tiles' on a canvas double the height and width of the texture. For example create a 1024 x 1024 size canvas to 'test tile' a 512 x 512 size texture. Duplicate the texture until you have 4 of them and line them up to fill the canvas. Are there any obviously repeating patterns? if so return to the texture to fix it - if not save the texture file.
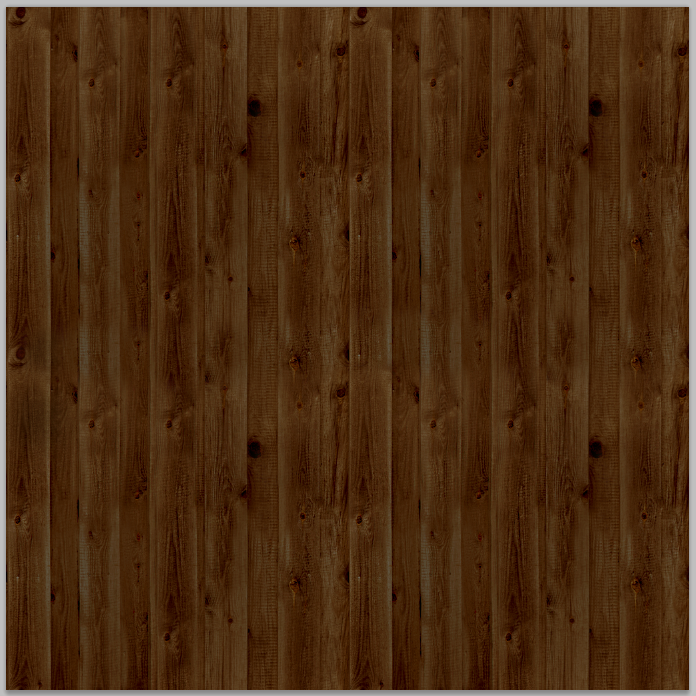 |
| 4 textures 'tiled' side by side - no obvious seams or patches |
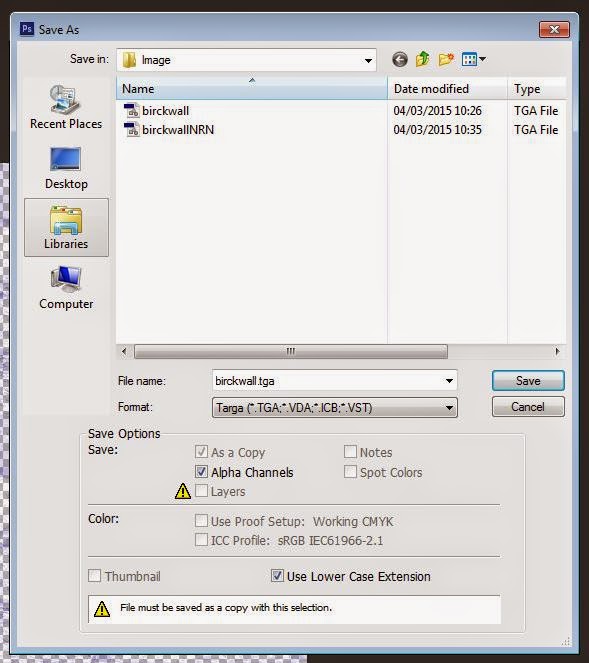
10. To save the texture, go to file > save as and select .TGA file (truevision targa) and then choose the 32 bit option when prompted. Congratulations you have just created a seamless, tileable texture.
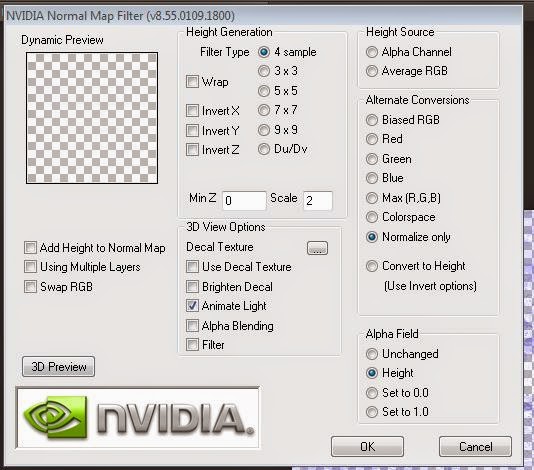
If you are using the texture in a 3D application then there is a little more work. For almost all 3D applications a the texture you have just created is still incomplete. A 'normal' file or 'heightmap' for the texture is still required. The quickest and easiest way to do this is using an application called CrazyBump.
Use crazy bump to create the 'normal' and if necessary (depending on the application you need the texture for) the occlusion, specularity and displacement files too. Once again save the files as .TGA (truevision targa) and choose the 32 bit option.