UE4 Custom Static Meshes
This tutorial is the sixth in the 10 part series on how to create a first person shooter game using Unreal Engine 4. We recommend you read the previous articles first to get the maximum benefit from this tutorial.
Find a suitable mesh/model:
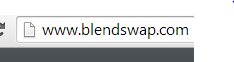
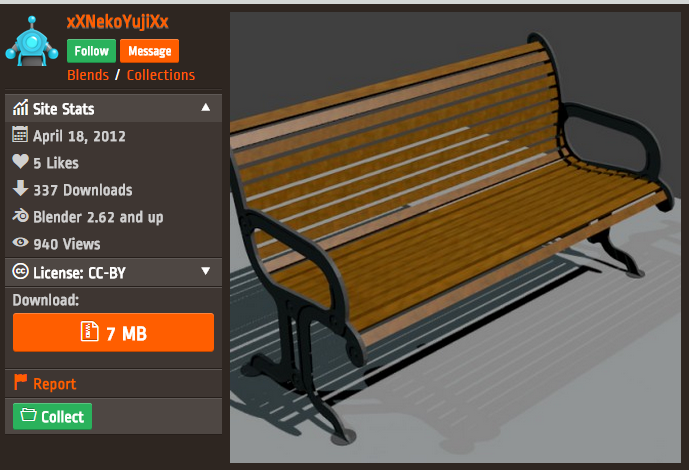
First off you need to find a suitable mesh or meshes for your game design project. We recommend www.blenndswap.com as the best place to find quality, free 3D models and meshes. The files are all compatible with blender (a free 3d modelling software) so it will be easy and free to edit/tweak them beforing exporting as an .fbx file to be compatible with Unreal Engine 4.You need to create an account before you can download but it is all free, although there is an option to upgrade to a paid account you will hardly need it unless you are downloading a huge volume of models. The website has a huge collection of models all available under a variety of different creative commons licences. Just use the search function to find what you need then download it... simple!
 |
| Find free 3d models using Blendswap |
Edit in Blender
Blender is a free software that can be downloaded from www.blender.org . If you are not familiar with it you can read and/or watch some of our tutorials here. Before you open the file in Blender be sure to unzip/extract the file as it will have downloaded as a .zip file from Blendswap.
The key thing in blender will be to unpack any textures that are used on the model. If you do this correctly the textures can then be imported automatically to UE4 along with the .fbx file and UE4 will even create the material automatically.
 |
| Blender windows |
What you need to do is select the object in the outliner window, then select the material (there may be more than one) from the materials tab in the properties window and finally select the textures tab also in the properties window. In the textures section there may be more than one texture listed so you will need to unpack them all individually.
You can do this by going to the subsection title 'Image' and clicking on the little icon beside the file name. This will present you with 4 unpacking options - choose the first one. You will not notice any changes but what happens is a folder called 'textures' is automatically generated where the blender file is saved and the unpacked texture is place it in. This is an important file management step which ensures the textures will import correctly to UE4.
 |
| Blender Materials Tab Highlighted |
 |
| Blender Textures Tab Highlighted |
You can do this by going to the subsection title 'Image' and clicking on the little icon beside the file name. This will present you with 4 unpacking options - choose the first one. You will not notice any changes but what happens is a folder called 'textures' is automatically generated where the blender file is saved and the unpacked texture is place it in. This is an important file management step which ensures the textures will import correctly to UE4.
 |
| Unpack a texture in blender |
Repeat these step for objects in the scene outliner to ensure all textures get unpacked.
*In blender you may also want to, if necessary, remove any additional objects that you do not want to use in UE4. For example you might download a file which contains 3 trees but you might only want one of the 3. In cases like this simply select the object and press delete (or 'x') on your keyboard.
Export as an FBX
Once you have unpacked all the textures and made any other edits to the model that you want it is time to export it as an .fbx file so it can be imported to UE4. Simply click file > export > FBX (.fbx)
This will bring you to the export page. In the bottom left of the screen you will find the export options. There are a couple of key settings that you will want to change.
Firstly, in the main section, you only need to export the mesh so select only the mesh option. By default all options will be highlighted and will result in unwanted elements being imported as part of the mesh.
 |
| Select only the 'Mesh' option |
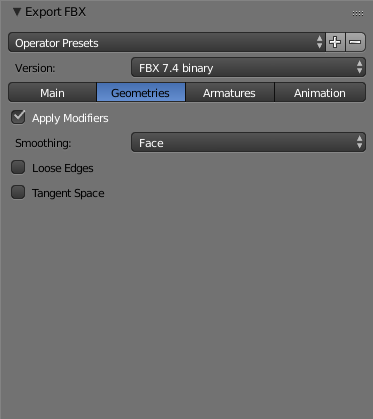 |
| Set smoothing to 'Face' |
Once you have completed these steps you can click the export button in the top right of the screen.
*Do not change the save location, the .fbx needs to be in the same folder as the original blender fil and beside the auto generated textures folder.
Import To UE4
Before importing the file to Unreal Engine you should first create a folder titled 'Meshes' or something similar and then inside it a sub-folder with a suitable title eg. 'Trees'.
Once inside the folder click on the Import button and navigate to where you saved the .fbx file, select it and click open. This will bring up the Import options. Depending on the mesh you will choose different options but always be sure to select Import Materials and Import Textures. Choosing Auto Generate Collision is most likely something you will want but for meshes such as grass you should deselect it.
Once happy with your selected settings click 'Import All' and the mesh and textures will be imported and UE4 will automatically generate materials from the textures and apply to the mesh.
For textures that contain transparent or semi transparent areas you will need to edit the auto generated material in order for them to work correctly. To do this simply double click on the material to open the material editor. In the material editor select the large material node and in the details window on the left change the blend mode form opaque to translucent. This will activate the opacity channel on the material node. You can now plug in the alpha channel of the texture node to the opacity channel. Click save and this will update the material and the mesh to display correctly.
 |
| Sample folder structure for Meshes |
Once inside the folder click on the Import button and navigate to where you saved the .fbx file, select it and click open. This will bring up the Import options. Depending on the mesh you will choose different options but always be sure to select Import Materials and Import Textures. Choosing Auto Generate Collision is most likely something you will want but for meshes such as grass you should deselect it.
 |
| UE4 import settings |
Once happy with your selected settings click 'Import All' and the mesh and textures will be imported and UE4 will automatically generate materials from the textures and apply to the mesh.
For textures that contain transparent or semi transparent areas you will need to edit the auto generated material in order for them to work correctly. To do this simply double click on the material to open the material editor. In the material editor select the large material node and in the details window on the left change the blend mode form opaque to translucent. This will activate the opacity channel on the material node. You can now plug in the alpha channel of the texture node to the opacity channel. Click save and this will update the material and the mesh to display correctly.
 |
| UE4 Material Editor |
Click save and exit the material editor. Then click save all in the Content Browser to add the files to the project.
Add Using Foliage Mode (optional)
All meshes can simply be dragged and dropped into the level but for meshes such as grass, trees, bushes etc. that may be used across a wide expanse of the level you should use the foliage editor.
Select the foliage editor tab in the top left of your screen and then drag and drop your mesh or meshes into the area saying "Drag and Drop Foliage Meshes Here". You can then select a mesh and edit it's various settings so that it is applied in the way that you want. You can select and deselect a range of meshes to paint on the ones you want when you want.
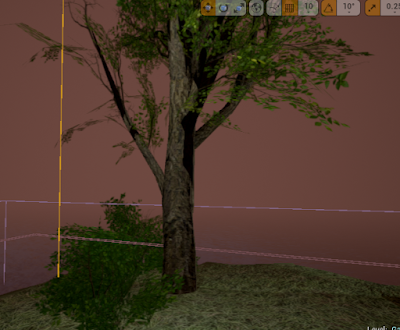
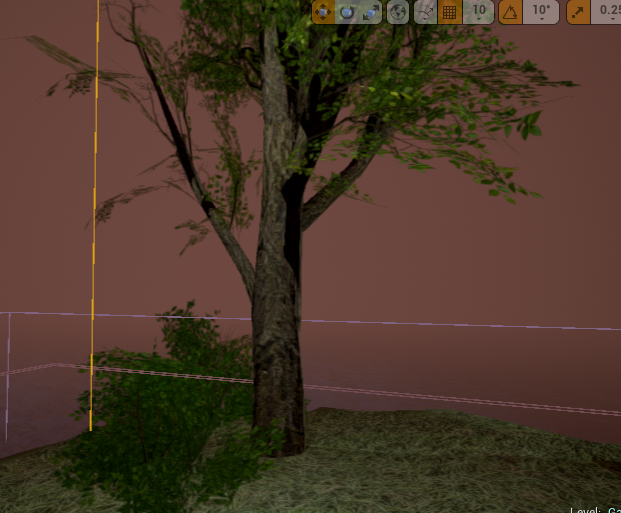
To learn more about the foliage setting click on the graduation cap icon and follow the in-built UE4 tutorial. Once the foliage and other meshes are added your level will be much more detailed and interesting for the player. Here is how it looks like in our game when placed in map.
Select the foliage editor tab in the top left of your screen and then drag and drop your mesh or meshes into the area saying "Drag and Drop Foliage Meshes Here". You can then select a mesh and edit it's various settings so that it is applied in the way that you want. You can select and deselect a range of meshes to paint on the ones you want when you want.
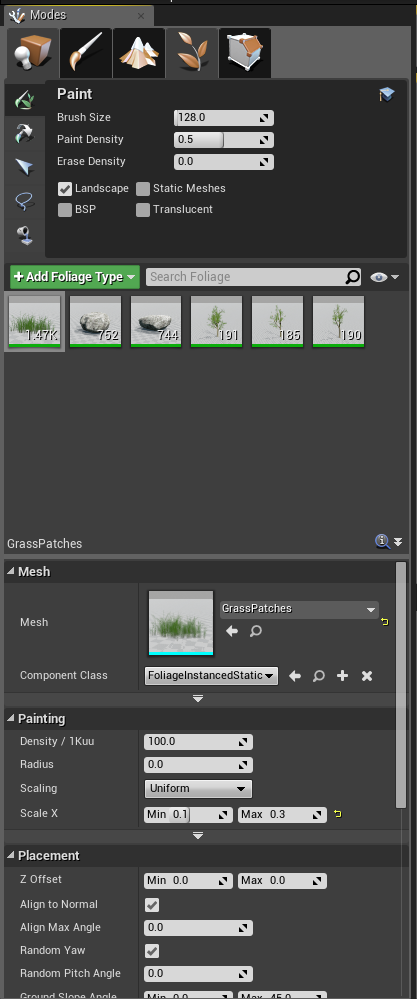 |
| UE4 Foliage Editor Settings |
To learn more about the foliage setting click on the graduation cap icon and follow the in-built UE4 tutorial. Once the foliage and other meshes are added your level will be much more detailed and interesting for the player. Here is how it looks like in our game when placed in map.
 Next Up
Now it is time to give our player something to shoot at! We will download and set up our custom enemy character and animations.