Tampilkan postingan dengan label basics. Tampilkan semua postingan

Jumat, 06 Maret 2015

BSPs - The Building Blocks of UE4

BSP Brushes
Scene showing BSP Brushes

What is a BSP?

A BSP stands for Binary Space Partition. These are objects that placed onto your level. You find these in the Place Mode. There are a variety of different shapes to use for a BSP including cubes, cylinders and stairs.


Modes
Place Mode

Step 1: Dragging it out

Before we show how to drag in a BSP, we will first get rid of all of the BSPs already in the level. You can either hide or delete these by using the Scene Outliner.


Level
Blank Level

After all of the existing BSPs are removed, you can now drag in your own BSPs. You can start with an easy shape, for example a cube. You drag it out by clicking on to BSPs on the Place Mode, select your shape and drag it on to the level with your mouse.


Block Brush
Block


Cylinder Brush
Cylinder


Cone Brush
Cone

Step 2: Adjustments

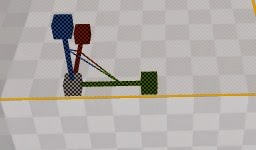
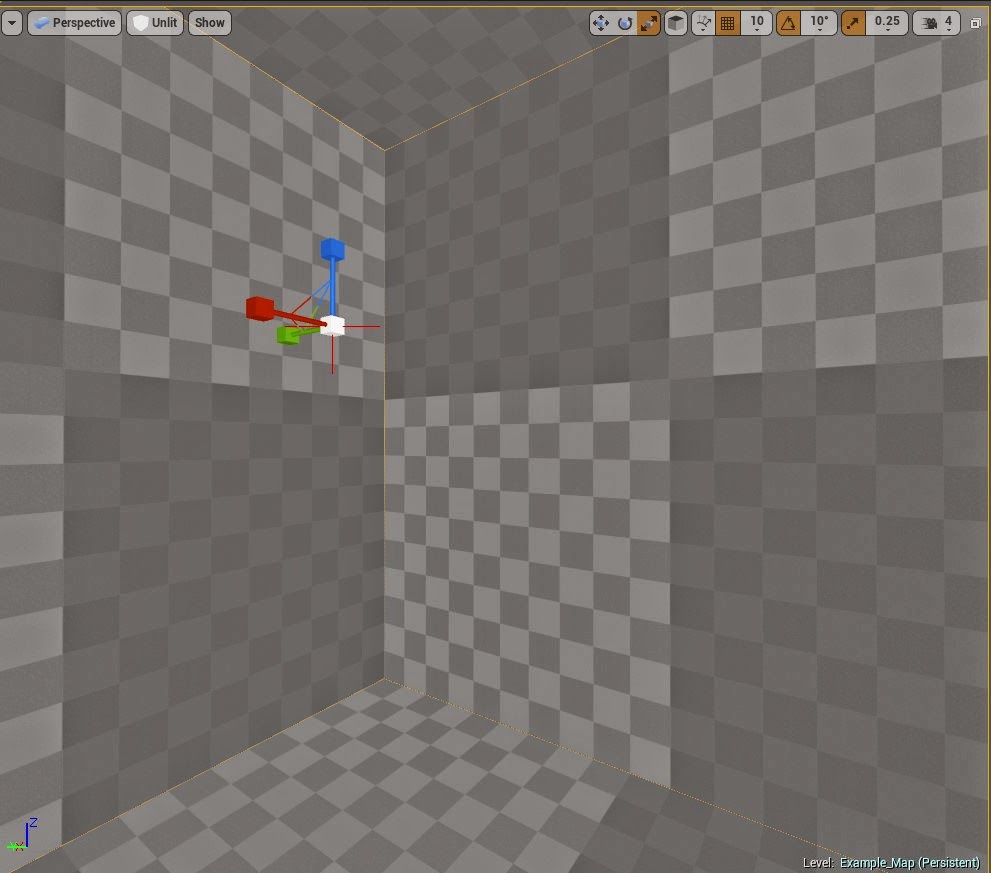
When it’s dragged out on screen, you can use the mouse to adjust the camera angles so you know where exactly you want the shape. Also, by pressing the Space Bar, you change what sort of adjustments you want including direction, rotation and size.


Direction
Direction


Rotation
Rotation


Scale
Scale

If you ever want to use a BSP to make a building or a lighthouse, you need to make your BSP hollow. You do this by selecting your BSP, going to the Details Panel and ticking where is says HOLLOW.


Hollow Option
Hollow

If adjusted the size before you made it hollow, you will notice that it goes back to its original size. If this happens, you can still scale it back to how you had it. When a BSP is hollow, you can view it from the inside, you cannot do this when it’s solid.


Hollow Block
Inside Block

Step 3:Stairs

When you have a hollow cylinder or cube, you can also be able to drag in stairs into them. There are 3 types of stairs curved, linear and spiral. When making adjustments to your stairs, we recommend, using side view.


Curved Stairs
Curved Stairs
Spiral Stairs
Spiral Stairs


Linear Stairs
Linear Stairs
Side View
Side View 
Once you have all of your BSPs dragged onto your level, you can manipulate them for any use for your level that you want.

More Brushes
BSPs


Baca selengkapnya

Restoring Damaged Photographs

Restoring Damaged Photographs
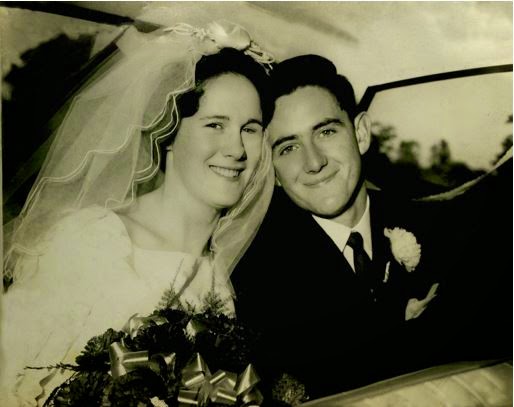
Black and white photograph for restoring.
In this tutorial, you will learn how to restore a damaged Black and white photograph by using tools you would find in Photoshop.

Step 1

The photograph that was picked

I looked around for an old Photograph with as much damage to it as I could. I settled on this picture of a Man and Women on their wedding day.

Step 2

Touching up using the Clone stamp tool

Using the “Clone stamp tool”. I clicked ALT + left click on the area that had a bit of colour (Note. This should be as close to the rip and tear as possible) and once the colour was selected I stared clicking on the tears and rips, bringing the colour to them.

Step 3

Fixing the big tear.

I picked a part on the photo which was the most damaged, which was the two faces and I planned out what I would have to do and what tools I would have to use.

Step 4

Using the spot healing tool.

I zoomed in on the biggest part of the tear, which was the tear by the lady’s eye and I fixed it up using the spot healing tool and the clone stamp tool. The spot healing tool is for smaller rips and tears. While the spot healing tool is selected find the area you want to fix. Click several times around the rip and tear and the colour should be brought into the rip and tear.

Step 5

The lace shawl

I used the clone stamp on the tears and when I was finished I used the spot healing tool on the patch by the lace on her shawl.

 Step 6

The roof of the car.

I then picked the tear up by the back window of the car and again I used the clone stamp and spot healing tool and I was able to get the tear to look like the roof again

Step 7

The bouquet of flowers  

After that I moved down to the tear just by the bouquet of flowers and zoomed very close to the tear and spot healed it once more.

Step 8

The finished product.

I used a magnetic lasso which is a tool that automatically clicks around the edge of a colour/graphic. I used this tool to circle their faces and I used a noise reduction filter and this is the finished product.


BEFORE
Black and white photograph with rips and tears.
AFTER
Black and white photo after its restoration.


Baca selengkapnya